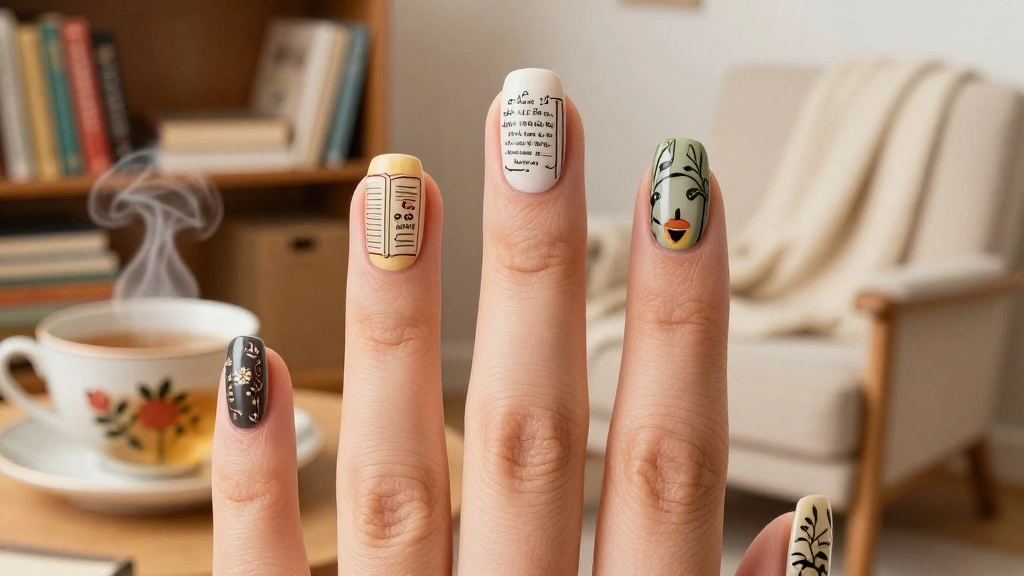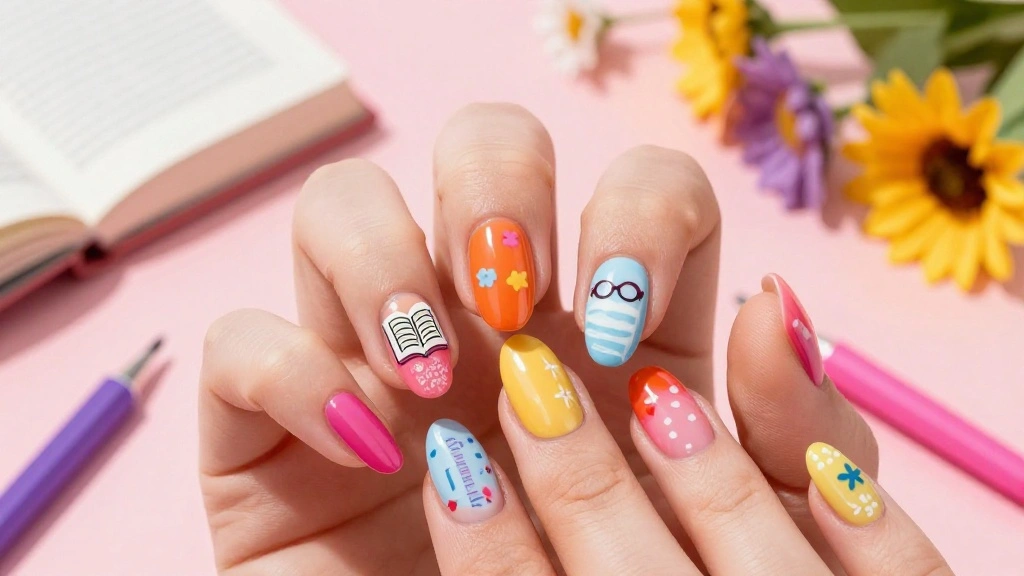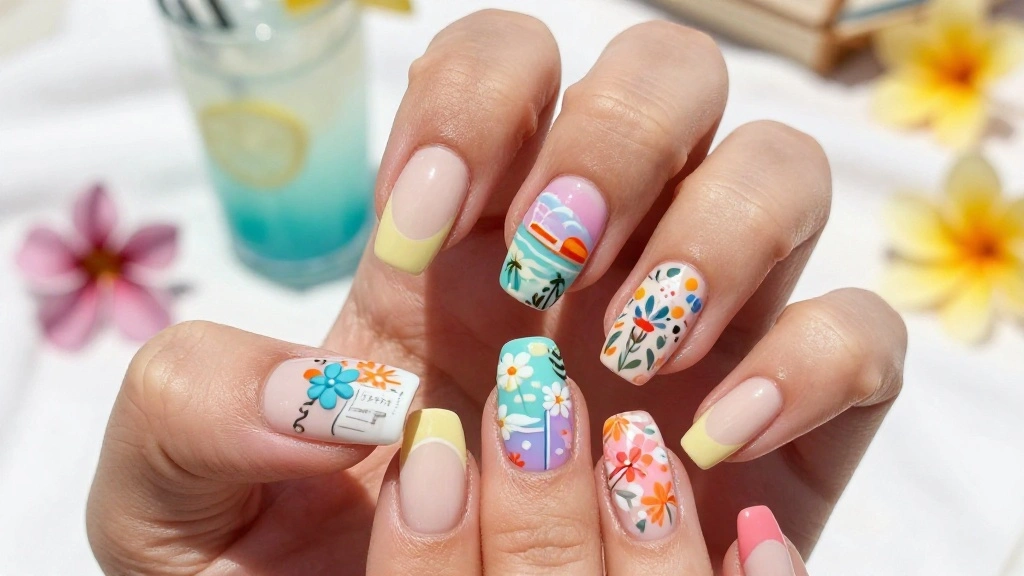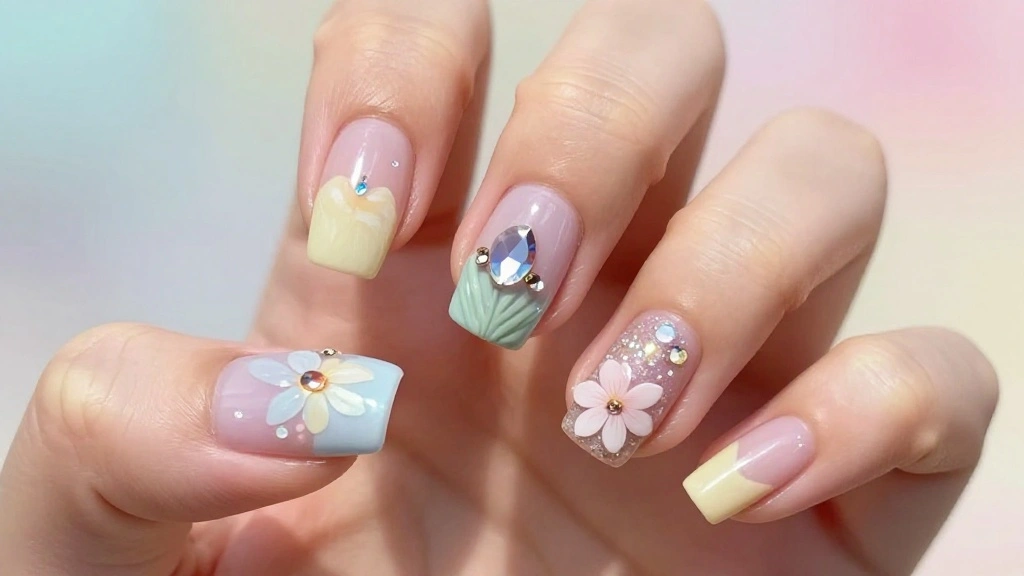
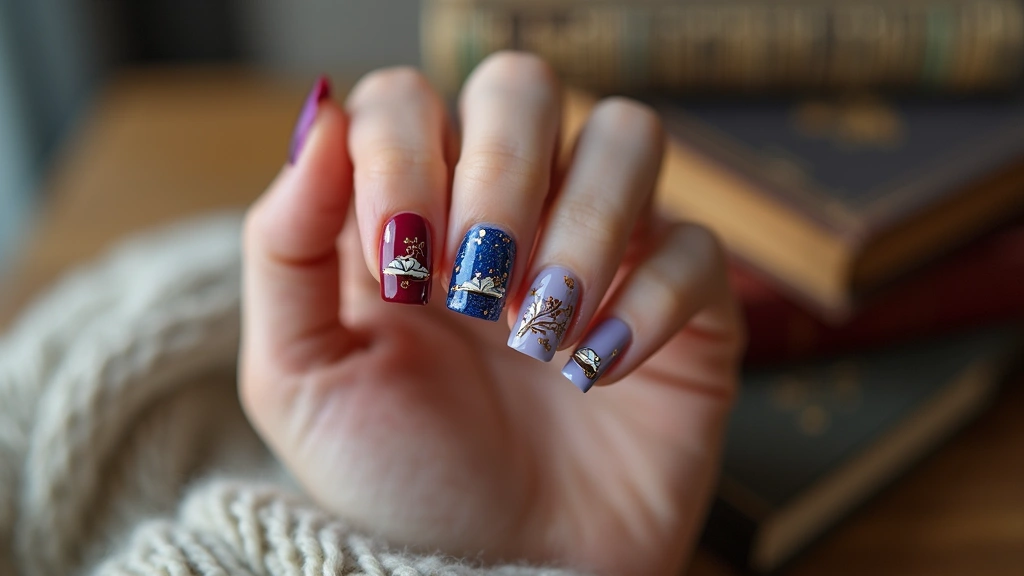
I put this together because book lovers deserve tiny, joyful ways to show off their reading habit. Seeing nails that echo a favorite story makes me smile. Square nails give a neat canvas for small art, easy to wear on busy days.
If you’re into cozy reading nooks, this one’s for you. Whether your shelves lean toward fantasy, mysteries, or memoirs, you want nails that fit your vibe. These ideas are for people who love art that feels personal and never gets in the way of turning pages.
I pulled together 15 personalized square nail ideas that cover bold and quiet looks. Each design fits square nails and can be recreated with common tools. From tiny quotes to shelf motifs and bookish icons, there’s something for every mood. Plus, I’ll share simple tips on materials and steps so you can try them this weekend.
Ready to try a nail look that shows your love for books? Choose one idea this week and wear it to your next book club or library visit.
1. Classic Book Cover Designs
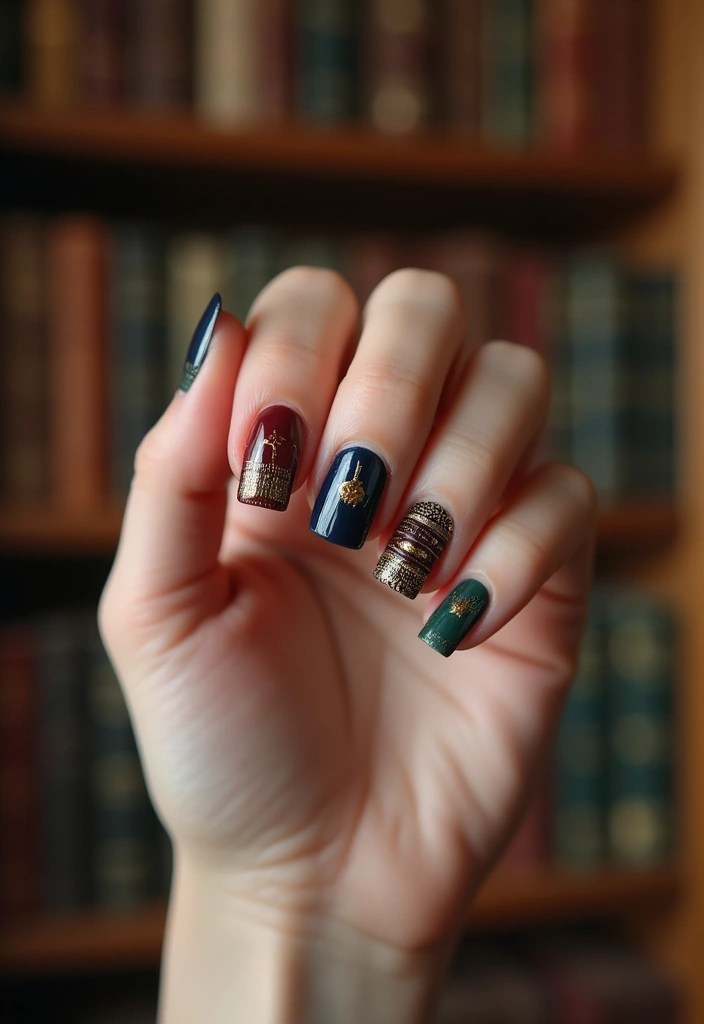
You want nails that show your love for books without shouting. Classic book cover designs do that in a quiet, stylish way. A tiny scene from Pride and Prejudice or Moby Dick on a nail is a small story you wear. Start with the cover colors and let them guide your brush.
Color strategy
Choose a palette that echoes the cover’s mood. Soft pastels suit Austen; deep navy fits Melville. Add a tiny gold line or cream highlight to bring life. Keep shapes simple so the design stays crisp.
What you’ll need
– Nail art brushes or fine-tipped pens
– Nail decals or a steady hand for freehand shapes
– Base coat and a top coat (matte for a vintage feel, gloss for shine)
– A small palette for mixing colors
How to apply
1) Start with clean nails and base coat. Let dry.
2) Paint a solid background that matches the cover’s main color.
3) Add main shapes with a fine brush or decals. Keep lines crisp.
4) Seal with a top coat.
Tips to succeed
Practice on a nail wheel first. Keep details simple; a clean silhouette can look bold. If you’re short on time, decals save you effort.
Your nails tell a classic story.
Product Recommendations:
• Artdone Metallic Nail Art Pens
• Liner Brushes Set
• 5 PCS Black Color Nail
• Vintage Letter Nail Art Stickers
• Beetles 2 Pcs 15ml No Wipe Gel Top Coat and Base Coat Set
2. Literary Quote Accents
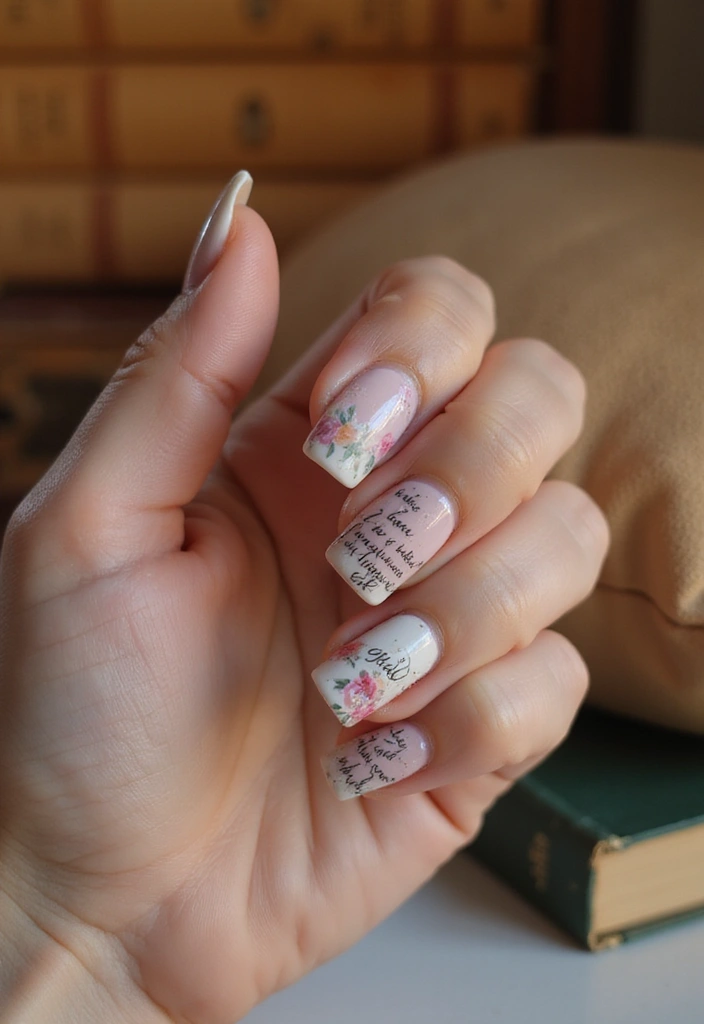
You want nails that say a lot without shouting. Literary quotes on square nails can do that. Pick lines that speak to you and stay with you every day. A simple favorite is “Not all those who wander are lost”—calm, classic, and easy to read.
Decide how many nails will wear the quote. A couple of accent nails with your chosen font create a bold but quiet statement. Surround the letters with light florals or neat geometric shapes to keep the look modern and fresh.
Here’s how to nail this look:
– Use a fine-tip nail art pen for clear writing you can read even from across the room.
– Keep the rest of your nails in a solid color so the quotes shine.
– Match the ink color to your base nail shade for harmony and a cohesive feel.
– Practice on a nail swatch first. If freehand feels risky, try decals or stencils for crisp lines.
– Seal your work with a glossy top coat to protect the writing and add shine.
– Choose short quotes that fit on one or two lines and space them well for legibility.
– Add tiny accent marks, like quotation marks or a small star, to give a little personality without clutter.
This nail style feels timeless and thoughtful. It offers a daily reminder of the books you love while staying chic and wearable.
Product Recommendations:
• SAVILAND Essentials Nail Art Pens Set
• 30 Sheets All Holiday Nail Art Stickers
• Sally Hansen Color Therapy High Gloss Top Coat
3. Colorful Book Spine Nails
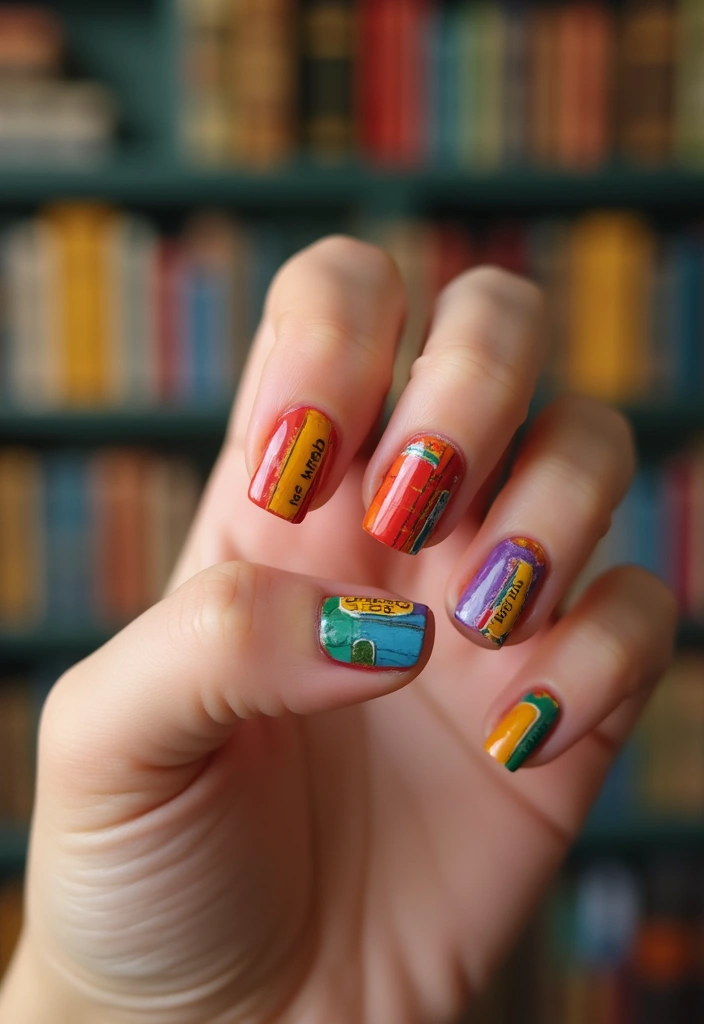
Want nails that show your love for books without shouting? Colorful book spine nails do this softly but boldly. Each nail wears a tiny spine—bright colors, neat lines, and little marks that hint at favorite authors or series. You get a playful look that fits daily life and bookish moments alike. You’ll learn a quick way to pull this off, even if you’re new to nail art. What you get is a manicure that travels with you—from library visits to coffee dates—and it sparks conversations.
– Choose a palette that echoes your favorite genres or authors.
– Plan how many colors you’ll use on each nail to keep a cohesive look.
– Prep nails with a clean base coat so colors pop and last longer.
– Use striping tape to create straight spine lines; press down well.
– Paint the spine colors in thin, even stripes; let each layer dry before the next.
– Add tiny details like initials, a bookmark icon, or a small symbol from a series.
– Seal with a glossy top coat to brighten colors and protect the design.
– For variety, try decals, stamping, or a soft gradient spine on a couple of nails.
Tips for clean results: keep your tape sharp by using a fresh edge, wipe bits of polish from skin quickly, and practice on a swatch before you tackle your hands.
Product Recommendations:
• 60 Colors Nail Striping Tape Line
• Morovan 15 Bright Color Quick Dry Nail Polish Gift Set
• beetles Gel Polish No Wipe Gel Top Coat
4. Illustration of Favorite Characters
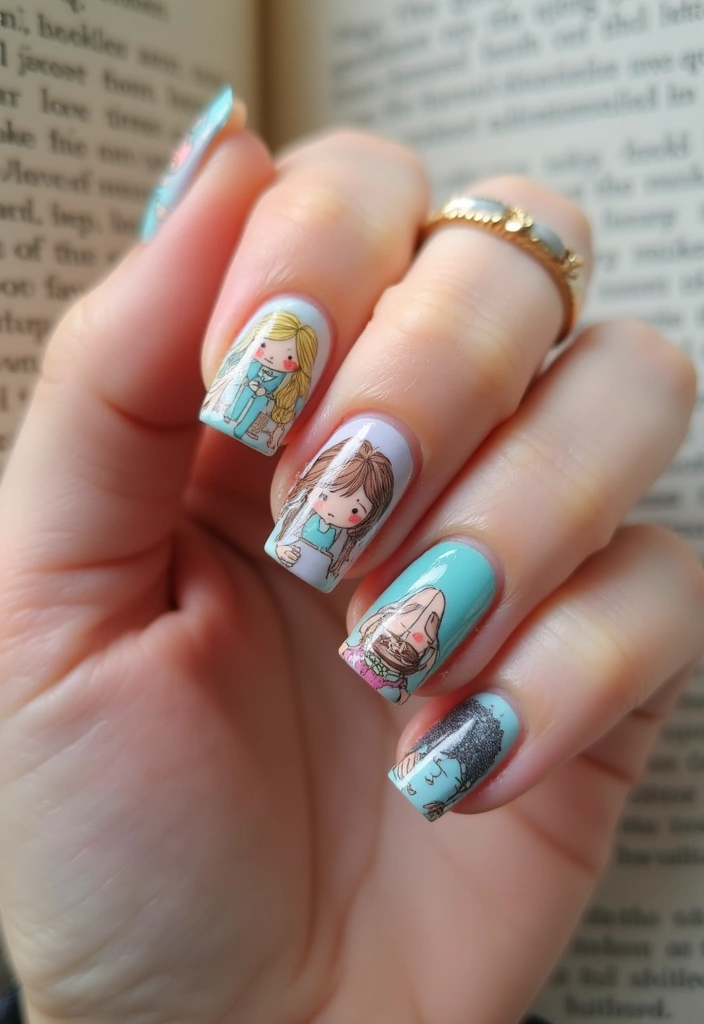
You want nails that show your favorite book heroes. Dumbledore, Katniss, or Anne Shirley can live on your fingertips. Your nails become a tiny gallery when you paint portraits. You can keep it simple or tell a story across several nails.
– Plan the layout on paper first.
– Sketch the pose or symbol.
– Pick a fine nail-art brush for details.
– Apply a good base coat to protect nails and keep colors true.
– Block the main shapes, then add the features.
– Finish with a top coat to seal the art and add shine or a matte look.
– Let each layer dry fully before adding the next.
Tips:
– Use striping tape for clean lines.
– Use a dotting tool for tiny dots.
– If tiny portraits feel hard, switch to symbols.
– Examples: glasses, a wand, a lightning bolt, or a small book.
Reason to try: your nails become a personal gallery you can share at a book club, library event, or coffee run. With practice, you’ll nail smoother portraits and longer-lasting color.
Product Recommendations:
• Metallic Nail Art Brushes
• 5 Pcs Liner Brush Set
• UV Gel Polish Painting
• Dot Paint Manicure kit (5PC)
• 60 Colors Nail Striping Tape Line-2 Pieces Nail Tape Dispensers-Free Tape
5. Minimalist Book Symbols
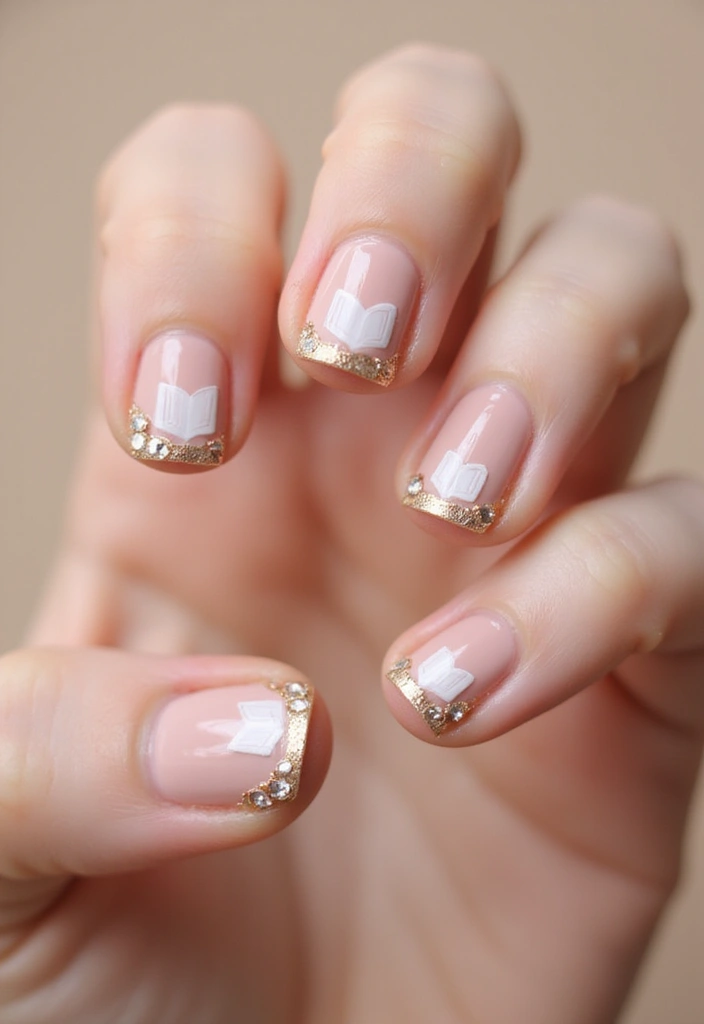
You want nails that nod to books without shouting. Minimalist book symbols give a clean, chic look you can wear any day.
These designs use simple icons: an open book outline, a tiny quill, or an ink pot. Place these on one or two accent nails while the rest stay a solid color.
– Use negative space to make the design breathe.
– Keep the color palette small for a cohesive look.
– Add tiny gems or pearls for a hint of polish without crowding.
How to rock this style:
– Prep your nails with a clean base and a clear base coat.
– Draw the symbol with a fine brush or apply a delicate sticker for accuracy.
– If you freehand, practice on a nail wheel first and steady your hand.
– Finish with a top coat for shine or try a matte top coat for a modern vibe.
Why it works:
This look is subtle, versatile, and easy to adjust. Short nails benefit from tiny symbols centered for balance; longer nails can carry a slightly larger symbol, but simplicity stays key.
– On short nails, keep symbols small and centered.
– On longer nails, you can scale the symbol a bit bigger while keeping clean lines.
This look works with outfits and moods.
These designs work on short and long nails alike. Keep a steady hand, and your symbols stay crisp.
Product Recommendations:
• Artdone 31pcs Nail Art Brushes
• Zoance 102 Sheets Nail Art Stickers & Storage Book
• OPI Nail Lacquer Top Coat
6. Storybook Forest Designs
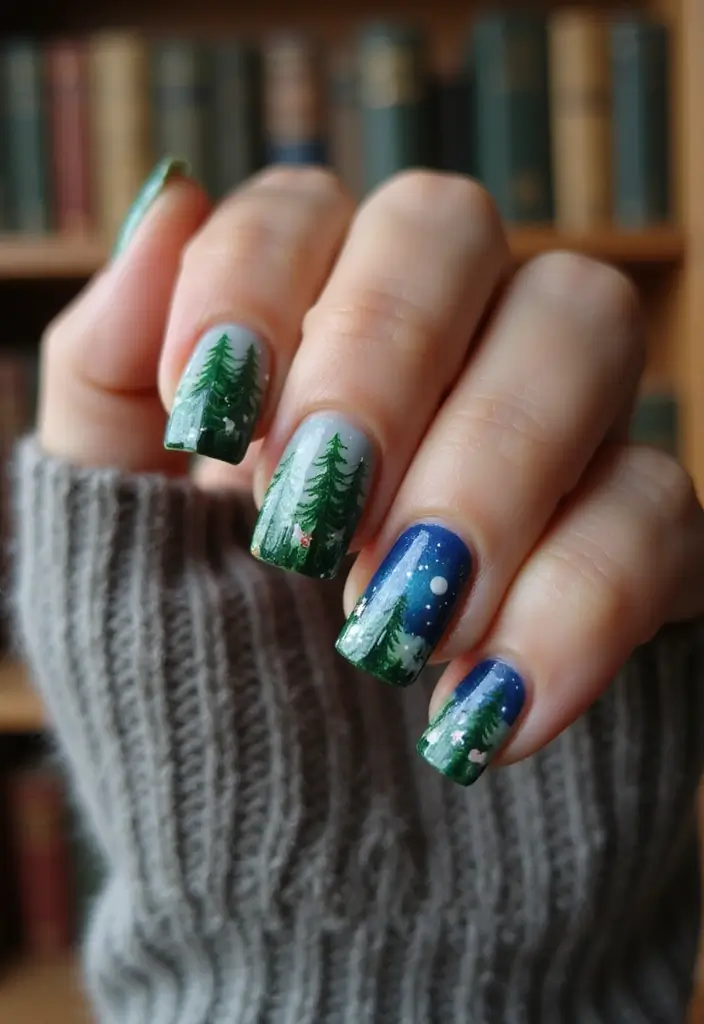
You want nails that feel like a tiny story on your fingertips, but still easy to wear. Storybook forest designs do just that. You tell a tale with each element—trees, a castle, and twinkling stars—on your square nails. Plan a little scene on a few nails, then let the others glow as a soft background.
What you’ll need
– You’ll need a clear base coat to protect your nails.
– Pick two pastel polishes for the forest look, like mint, peach, or lilac.
– Grab a darker shade for silhouettes, such as emerald, navy, or plum.
– A small brush or nail-art liner for tiny details, plus a dotting tool for stars.
– A sheer top coat and a little sparkle or fine glitter for fairy-tale shine.
How to create the look
– Start with a clean, dry base and a smooth layer of base coat.
– Paint a soft gradient background on each nail to evoke a misty forest floor.
– On one nail, sketch a simple tree silhouette with a thin brush.
– On a second nail, draw a tiny castle outline with clean lines.
– On a third nail, add a handful of small stars using a dotting tool.
– Finish with a light glitter or holo top coat for a subtle glow.
This approach keeps the look cohesive while letting each element stand out. It feels like a walk through a tiny fairy tale, yet remains practical for daily wear.
Product Recommendations:
• Sally Hansen Double Duty™
• Base and Top Coat
• Beetles Pastel Nail Polish Set -6 Colors
• Artdone Metallic Nail Art Pens
• Liner Brushes Set
• 5 PCS Black Color Nail.
7. Book Stack Nail Art
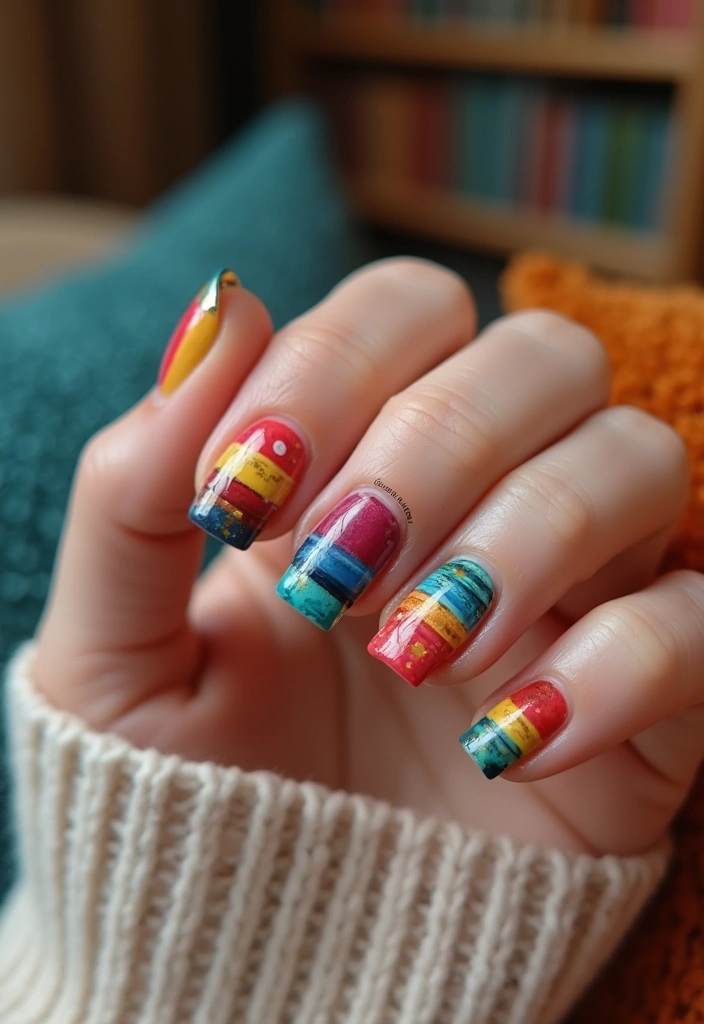
You want nails that show your love of books without shouting it. Book stack nails give you a tiny library on your fingertips. Each nail can mimic a little pile of favorites with color, texture, and tiny details. This look is lively and bold, perfect for readers who like variety. Here’s how to pull it off.
– Choose a cohesive color scheme: Pick colors based on famous covers so the stacks feel connected.
– Plan your titles: Decide on 3–5 book titles or themes you want hinted on your nails.
– Paint spine edges: Draw thin lines along the nail to resemble book spines in a real stack.
– Use decals for details: Short titles, tiny logos, or genre icons work well when scaled down.
– Play with texture: Try a matte base with glossy edges, or add 3D spine stickers for depth.
– Add small accessories: A bookmark ribbon or a mini reading glasses charm can boost charm.
– Balance the layout: Alternate longer nails with shorter ones to echo a stacked array.
– Care and upkeep: Finish with a durable top coat and reapply every few days to keep it fresh.
Wearing these nails makes you a walking bookshelf. It’s a fun, stylish way to show your love of reading.
Product Recommendations:
• Zoance 102 Sheets Nail Art Stickers & Storage Book
• 5200 Pieces 3D Self-Adhesive Nail Art Stickers
• Artdone 31pcs Nail Art Brushes
• Dotting Tools
• Dust Brushes
• Seche Vite Dry Fast Top Coat Nail Polish – Quick Dry
8. Embossed Book Quotes
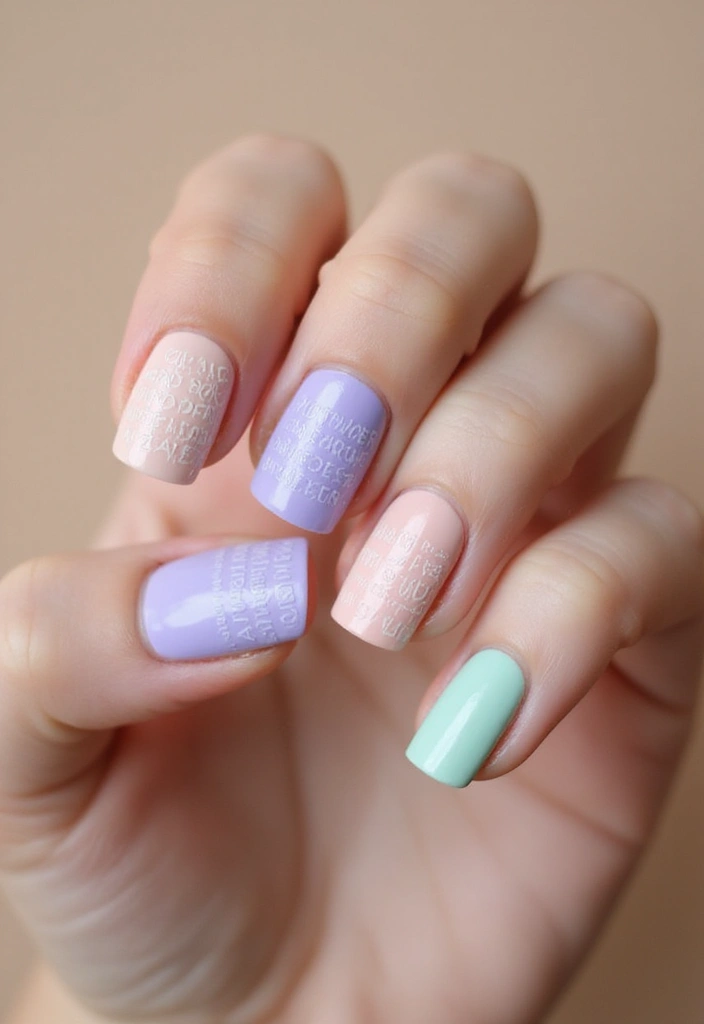
Embossed quotes add texture and depth to your nails. Raised lettering catches light and makes words pop. It turns a simple manicure into a tiny page you can wear on your hands.
What you need
– A solid base color you love
– A fine dotting tool or tiny brush
– Acrylic powders or embossing powders
– A UV lamp for curing
– A clear top coat to seal and protect
How to do it
– Start with a smooth, solid base color and let it dry completely.
– Use the dotting tool to gently trace your chosen quote on the nail. Keep letters small and spaced so they stay readable.
– If you’re using acrylic powder, lightly dust the powder over the raised letters and cure under the UV light.
– Tap off excess powder and finish with a clear top coat to lock in the texture and give shine.
Tips for best results
– Pick short, clear quotes from your favorite books or characters. Long lines are hard to read when raised.
– Practice on a swatch finger first to get the spacing right.
– Keep nails balanced in length; shorter nails show the embossing more clearly.
– Clean your tools between uses to keep edges crisp.
– If you want extra durability, apply a second thin top coat after the first one dries.
This technique delivers a tactile look that’s both stylish and expressive. Your nails speak softly yet clearly through raised words.
Product Recommendations:
• Acrylic Nail Kit for Beginners
• SUNUV UV LED Nail Lamp
9. Story-inspired Color Gradients
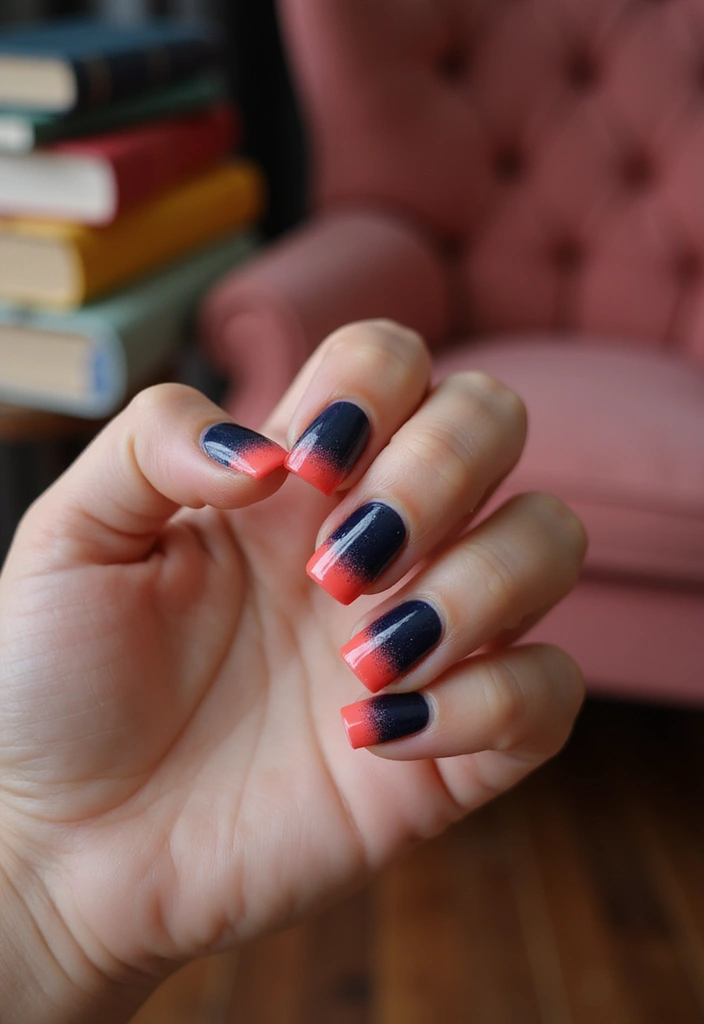
Story-inspired gradients echo a book’s mood on nails. You show a character’s dark moments and bright wins by fading from deep to light colors. Pick shades from a cover you love.
What you’ll need
– Base coat and top coat
– Three polishes for your arc
– A makeup sponge
– A small cleanup brush or cotton swabs with remover
How to build the gradient
1) Prep the nail with a base coat and let it dry.
2) On the sponge, place stripes of the three colors.
3) Dab the sponge on the nail to blend colors, moving from base to tip as you go.
4) Repeat the dab until the blend looks smooth.
5) Clean up edges with a brush dipped in remover.
6) Finish with a top coat for shine and protection.
Tips to make it pop
– Pick a palette tied to the book mood or cover art.
– Use 2–3 shades for a cohesive look.
– A glossy finish makes the gradient pop; a matte top coat softens it.
– Add a glitter line near the tip for a touch of magic.
This style lets you echo a story’s arc on your fingertips without shouting. It’s stylish and easy to photograph.
Practice on a nail wheel first to fine tune colors.
Product Recommendations:
• Beetles 2 Pcs 15ml No Wipe Gel Top Coat and Base Coat Set
• 100Pcs Soft Nail Sponges for Ombre
• Nail Art Clean Up Brushes
10. Comic Book Nail Art
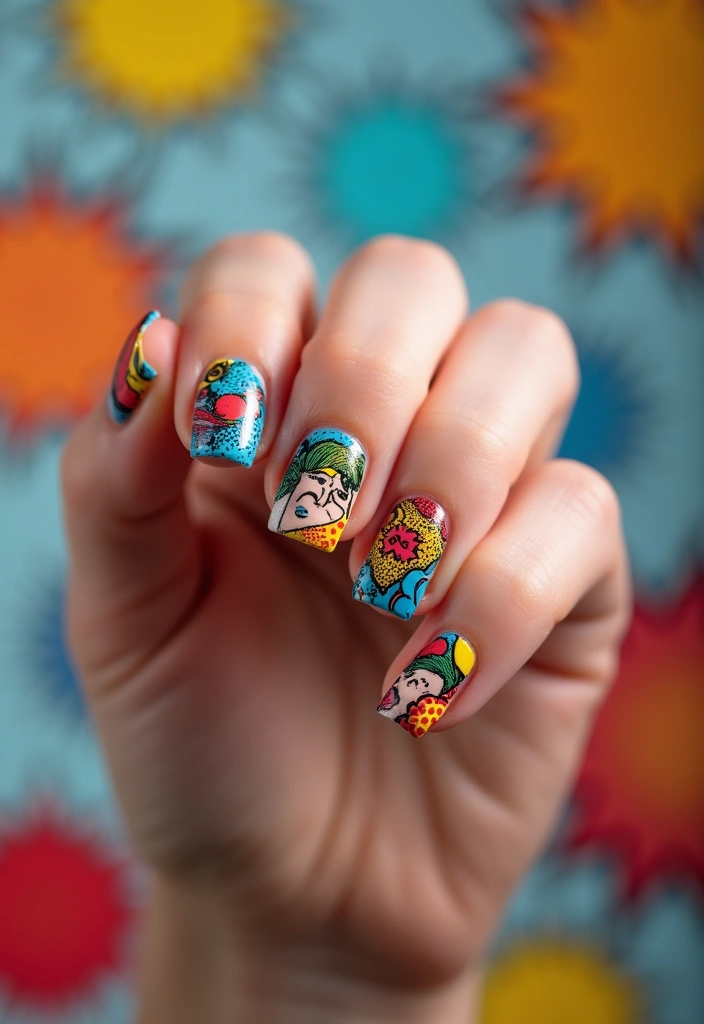
If you love comics, your nails should tell that story too. Comic book nail art turns every hand into a tiny, colorful page. It’s bold, playful, and perfect for fans who want nails that pop in photos and real life.
Quick steps to nail the comic look
– Pick a bright base color so the panels and bubbles stand out.
– Draw thin black borders to create tiny panels. A fine brush or nail art pen works best.
– Fill each panel with simple scenes, symbols, or favorite characters. You don’t need a full scene; a silhouette or logo reads well.
– Add speech bubbles. White bubbles with short words or sounds (like “Pow!” or “Bam!”) read clearly on a colored background.
– Create texture with halftone dots. A dotting tool or tiny stencil adds the classic comic texture.
– Finish with a strong top coat. It locks in color and keeps lines from smudging.
Keep it readable: one nail can show a single panel, while a couple of nails can form a mini story. If painting freehand feels tough, use nail stickers or decals to get crisp borders and precise shapes.
Practical tips you can use today: plan your color palette first, so your yellows don’t clash with purples. Use striping tape to separate panels cleanly. Practice a quick pencil sketch on a sheet of paper first, then transfer the idea to your nails.
With these steps, your hands become a portable comic panel—fun, expressive, and totally you.
Product Recommendations:
• Beetles 31pcs Nail Art Brushes
• Dotting Tools
• Nail Art Pens
• Base and Top Coat
• 12 Sheets Nail Art Stickers Water Transfer Nail Decals
11. Book-themed Marble Effect

You want nails that nod to your favorite book without shouting. Marble nails can do that. They look like pages and color swirls that echo stories.
What you’ll see
Soft swirls of color run across each nail. The look is elegant but playful. It fits a chic bookish vibe.
Two easy methods
– Water marbling: Fill a small cup with room-temperature water. Drop colors in, one at a time, to form a pattern. Drag a toothpick to swirl. Dip your nail gently. Lift and clean the edges. Let dry. Apply a top coat.
– Polish swirl: Paint a base color. On a damp sponge, dab another color to create a marbled edge. Lightly press it onto the nail and twist the tool to blend. Repeat until you like the look. Then seal with top coat.
Color ideas
Choose colors that match book covers or themes. Ivory or soft beige with navy, gold, or deep burgundy gives a classic feel. For fantasy reads, emerald green with charcoal gray looks bold. For mysteries, black with white swirls and a gold line adds contrast.
Tips for lasting shine
Base coat first. Let it dry. Clean edges with a small brush dipped in remover. Use a glossy top coat and let it cure fully.
If you want extra depth, add a fine gold line along a seam. Give each layer a minute to set before you add the next.
These marbled nails will catch the eye and spark little conversations about the stories you love.
Product Recommendations:
• Artdone 31pcs Nail Art Brushes
• Nail Art Tool Set
• BURANO Marble Nail Gel Polish
• Top Coat Nail Polish Clear
12. Seasonal Book Themed Designs
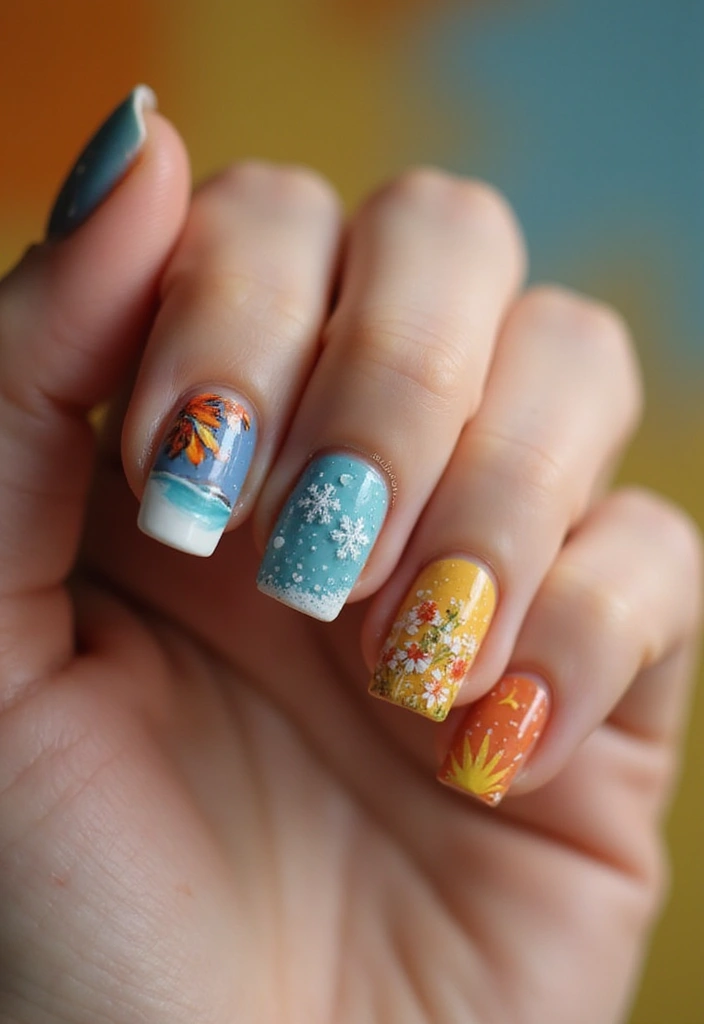
Seasonal book themed nails let you wear your love of reading through the year.
They blend color, symbol, and tiny scenes to match how a book feels in each season.
This practical guide helps you create the look with simple steps you can follow at home.
– Choose seasonal colors that match the book mood.
– Add symbols that tell a seasonal story.
– Keep a cohesive base color across nails.
– Limit accents to two or three elements per hand.
– Plan before you paint.
– Finish with the right top coat.
– Care for long wear.
Seasonal nail art offers a wearable reminder that great reads pair well with the changing seasons.
13. Fantasy Realm Inspirations
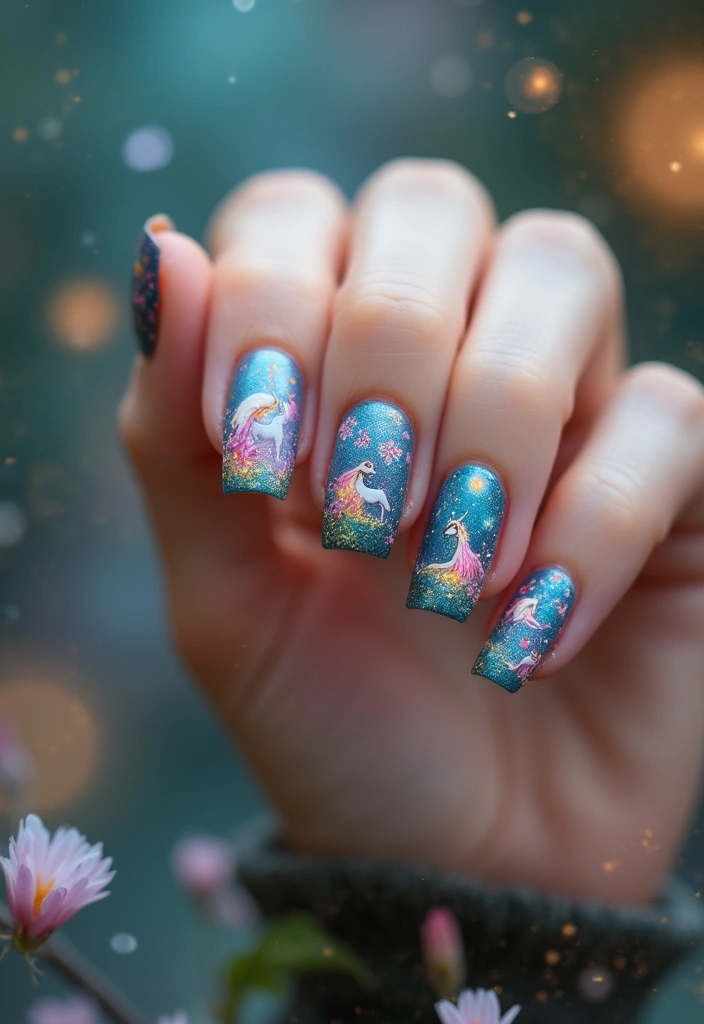
Your love of books deserves nails that spark imagination. Fantasy-inspired designs let you carry scenes from stories right on your fingertips. These ideas are bright, playful, and easy to adapt to your mood. Keep it simple at first and grow your colors and details over time. Here’s how to bring this idea to life:
– Colorful landscapes: Paint skylines and seas with bright blues, greens, and purples to show magical lands.
– Glitter and shine: Add glitter for a magical sparkle on clouds, stars, and waves.
– Short quotes: Paint small fantasy quotes from favorite books along the nails.
– Creatures and silhouettes: Draw simple silhouettes of dragons, phoenixes, or unicorns.
– Finishing touches: Seal with a glossy top coat to keep the art bold.
– Texture accents: Try a matte finish or tiny 3D stickers for depth.
– Placement tips: Start with one nail as the main scene, then use others for details.
These nails remind you that stories stay with you between visits to the pages. Practice on a nail wheel or practice sheet before you wear them. Have fun and swap ideas with friends. You can try a toned-down version for workdays. Let your books guide your colors. Keep experimenting and you’ll find a style you love.
Product Recommendations:
• Artdone 31pcs Nail Art Brushes
• Nail Art Tool Set
• Dotting Tools
• L.A. COLORS Color Craze Nail Polish, Frill
• L.A. COLORS Color Craze Nail Polish, Glitter Bomb
• Teenitor 50 Sheets Nail Stickers for Nail Art
• 30 Sheets Flower Nail Art Stickers Decals
14. Personalized Bookmarks on Nails
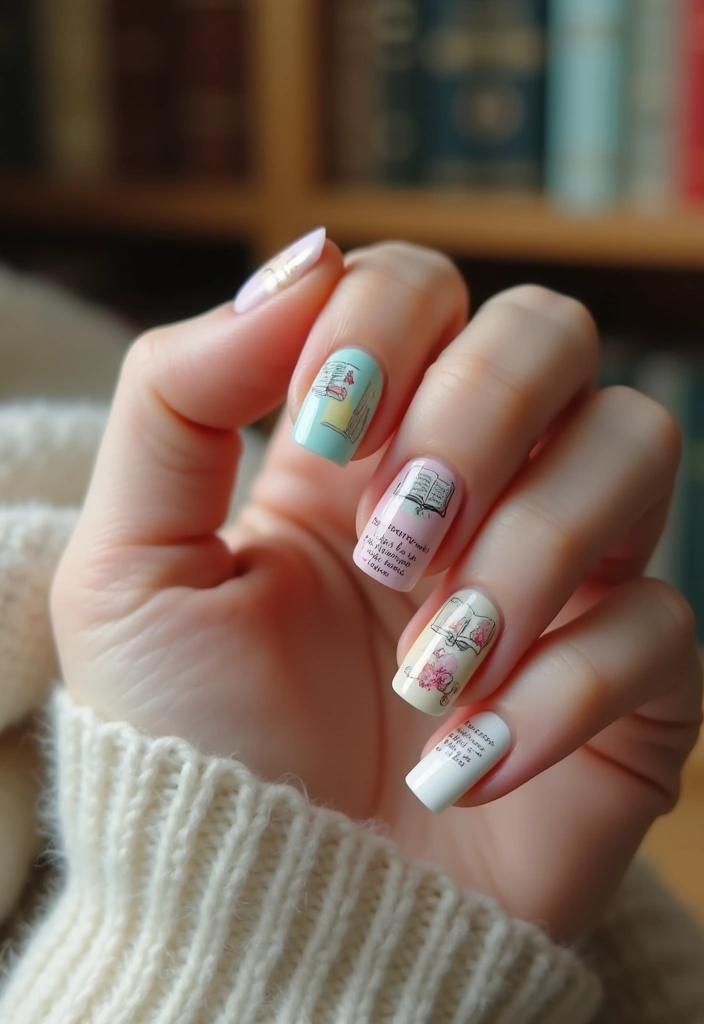
Are you after nail art that fits a book lover’s heart? Try personalized bookmarks on nails. This design pairs your reading love with everyday style and stays easy to wear.
Bookmarks on Nails: Quick Tips
– You pick a color palette that fits your bookmark theme. Soft beiges and browns work for classic vibes; bright blues and golds feel library-smart.
– You use one or two accent nails to paint tiny bookmarks. Draw a small rectangle, add a top tab, and keep lines clean.
– You add a short quote or a tiny design on each nail. Choose black, white, or a shade that stays legible.
– You include little book details like a tassel, a ribbon edge, or a page-crease curl. These tiny touches read as bookmarks.
– You outline the shapes with a thin contrasting line, then fill in color. Build in layers to avoid smudges.
– You finish with a clear top coat to seal and give shine. A matte coat can give a vintage librarian look if you prefer.
– You try different quotes on different nails or repeat one quote for a cohesive set. This keeps the look fresh while staying bookish.
– Practical tip: you start with a light base, let each layer dry, then add your bookmarks step by step.
Product Recommendations:
• Beetles 31pcs Nail Art Brushes
• Dotting Tools
• Nail Art Pens
• Dust Brush
• Biutee Nail Stamping Plates Set
• Base and Top Coat
15. Watercolor Art
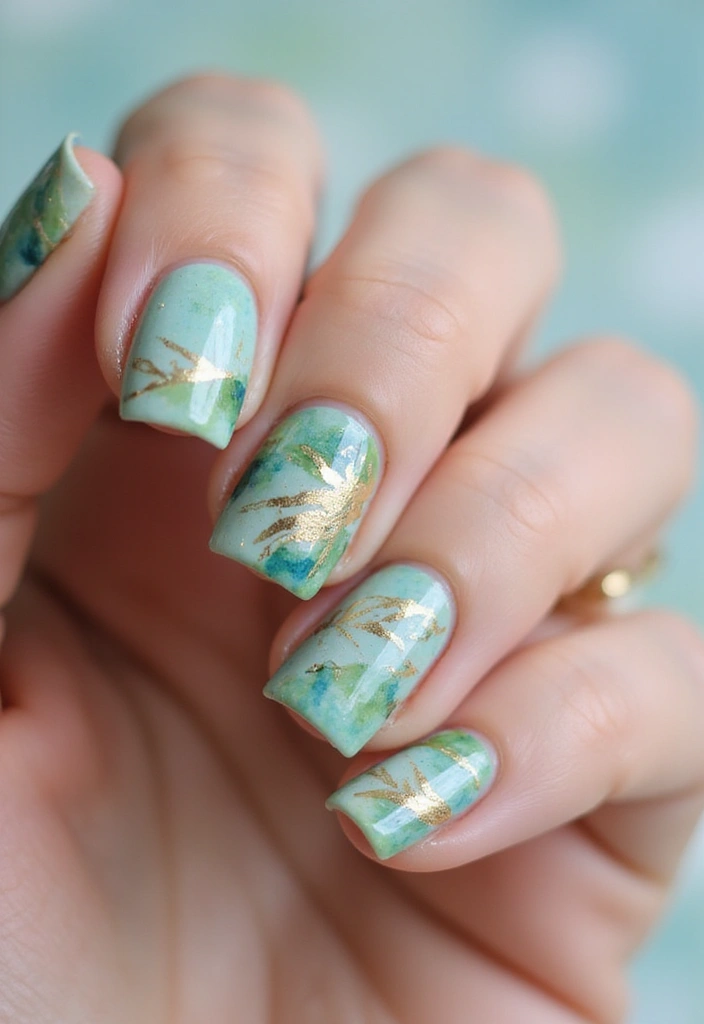
Want nails that nod to your favorite books without loud colors? Watercolor nails give you a gentle, bookish vibe you can wear every day. They look like tiny illustrations from a beloved tale, painted with soft washes. This nail art feels chic, modern, and easy to do at home.
– Materials: base coat, a pale base color, several translucent polishes, a fine brush or sponge, a glossy top coat, and cleanup tools.
– Prep: clean nails, shape them, and push back cuticles.
– Base and wash: apply a light base coat and a pale color to start your watercolor look.
– Blending: while the polish is still wet, dab on colors with a sponge or brush to blur edges.
– Depth: layer colors to create soft depth and movement across the nails.
– Accent: on one nail, draw a tiny bookish motif like a bookmark, a page edge, or a quill.
– Top coat: seal with a clear top coat for shine and protection.
– Cleanup: tidy edges with a small brush dipped in remover.
To get the look, focus the watercolor wash on two to three nails and keep the rest as a clean canvas. This keeps the style classy and easy to wear. Try palettes drawn from your favorite cover art—blue tones for fantasy, warm browns for mystery, or soft pinks for romance. For a subtle sparkle, add a tiny gold line or dot as a final touch. Nail designs inspired by books become a tiny canvas you carry everywhere, showing your love for reading in a fresh, wearable way.
Product Recommendations:
• Watercolor Ink Nail Polish Set
• 12 Colors Macaron Watercolor Gel Polish
• Metallic Nail Art Brushes
• UV Gel Polish Painting
• COSMOO Clear Pink Nail Polish
Square Nail Inspo: Conclusion
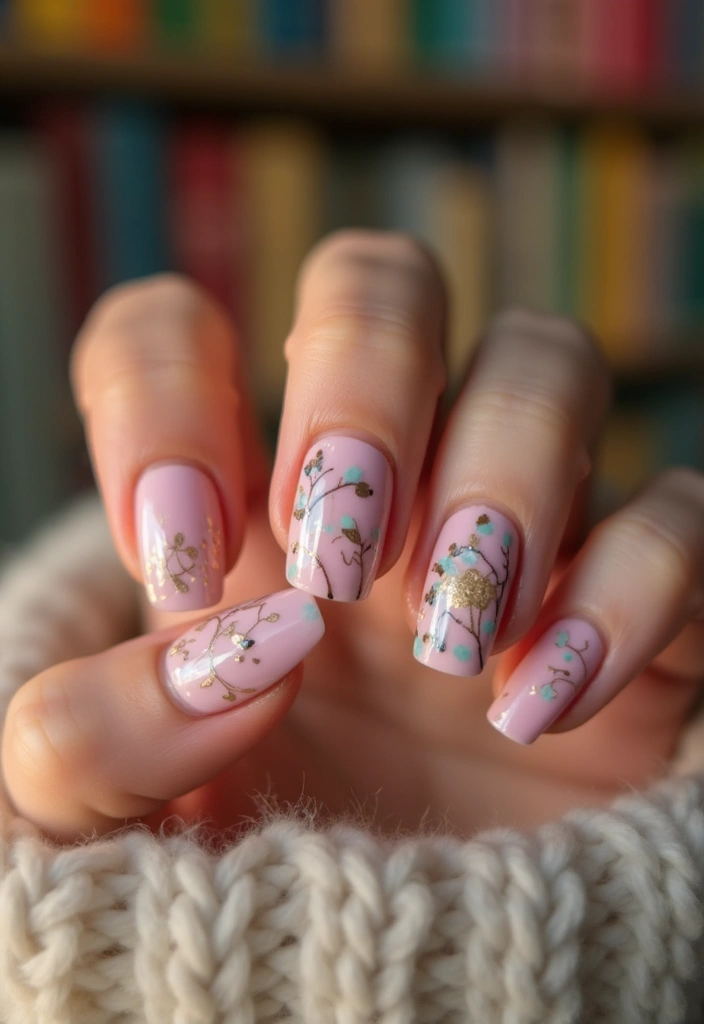
With these 15 personalized square nail ideas, your love for books can shine bright every day. From classic covers to whimsical illustrations, these designs not only celebrate literature but also showcase your unique style.
Whether you’re planning for your next nail appointment or simply feeling inspired, these nail ideas will keep your passion for reading alive at your fingertips. Don’t forget to share your own creations and embrace your inner book lover!
Note: We aim to provide accurate product links, but some may occasionally expire or become unavailable. If this happens, please search directly on Amazon for the product or a suitable alternative.
This post contains Amazon affiliate links, meaning I may earn a small commission if you purchase through my links, at no extra cost to you.